![]()
|
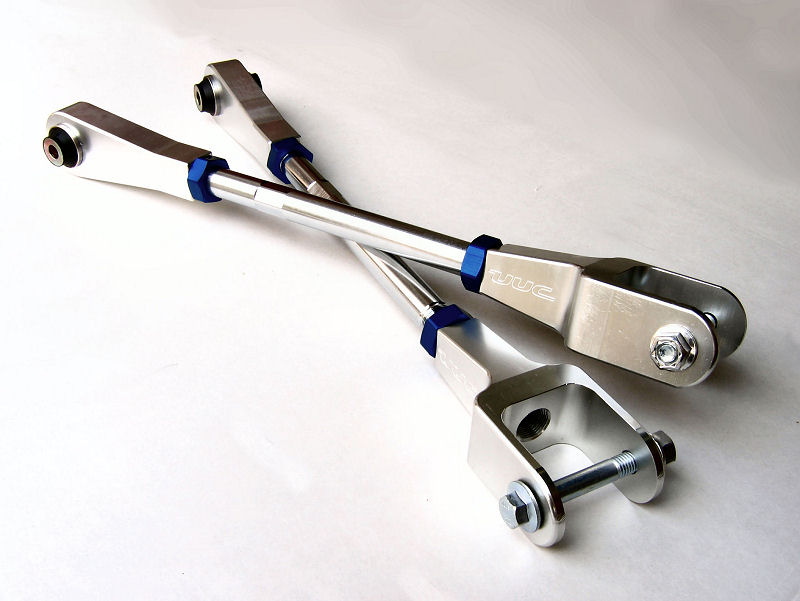
The Ultimate Chromoly
Adjustable Rear Control Arms
Fits 1992-2005 318, 323, 325, 328, 330, M3 (E36, E46) and 2003+ Z4 (does not fit 318Ti & Z3) $349/pair [ CLICK HERE TO ORDER ] |
 |
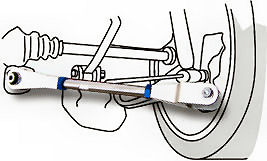 Why
use adjustable rear control arms?
Why
use adjustable rear control arms?
With a lowered car (either for street or track use), the
non-adjustable original arms cause unwanted negative camber - the tops of the
rear tires angle in too much, causing uneven tire wear and unwanted effects on
handling. The adjustable rear control arm corrects this problem
and can be tuned for any lowering, whether a street car to a full-on race car
through a +1.0° to -3.0° range.
Co-developed with OE-supplier SPC Performance, the combination of OE
engineering and UUC's enhancements make these arms truly "ultimate".
With so many alternate choices, why UUC?
-
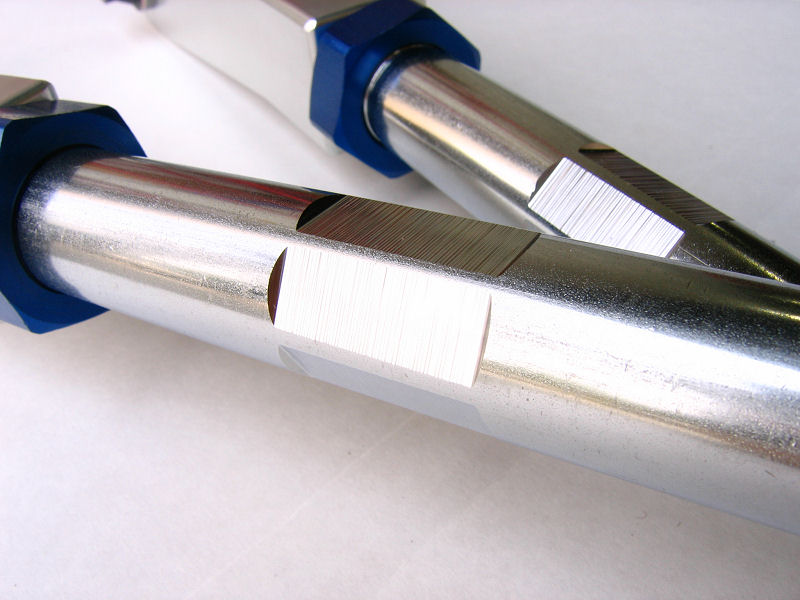
Aluminum center rods are known to bend and fail under extreme use or after extended use (build-up of strain/weakening). Failure of a suspension part that keeps the wheel in place can be quite dangerous. UUC's chromoly center rods are the strongest in the world, virtually unbreakable in this application.
-
The wrench-fixing point of UUC's chromoly arm will not "round off" like the fixing point of aluminum arms.
-
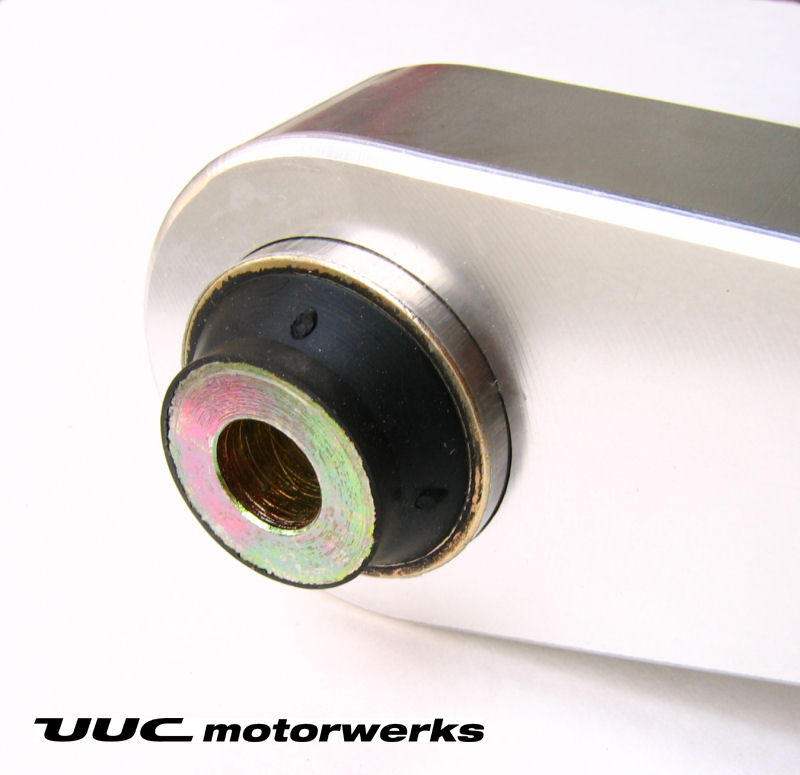
UUC's original-style bushing is silent, and does not have the squeaks and rattles associated with the use of heim joints or spherical bearings.
-
The combination of aluminum ends and chromoly steel center bar results in a reasonable weight, a balanced combination of mass and strength.
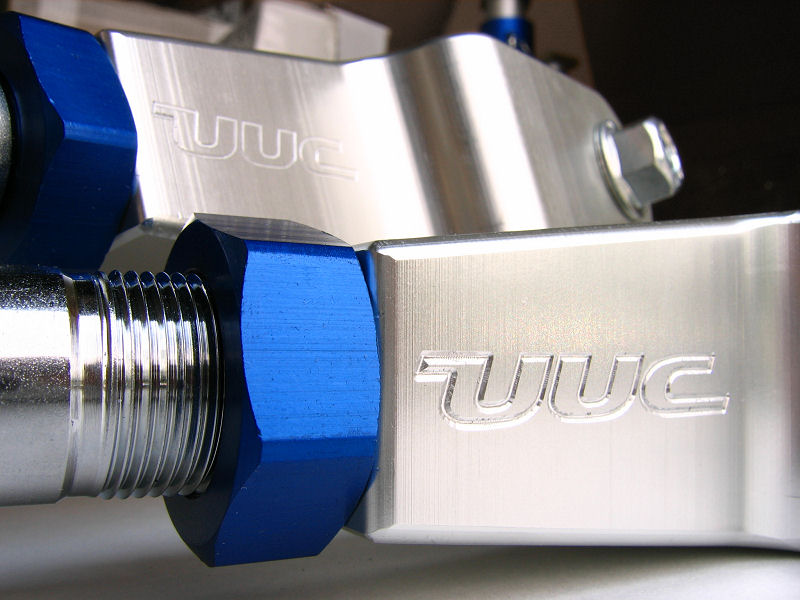
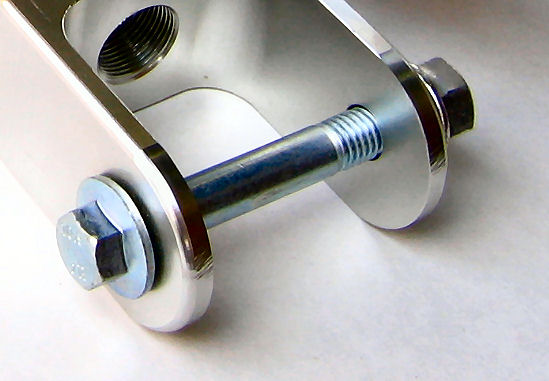
- UUC's stress-relieved aluminum cleavis end is not only very strong, but is also much more precise in fitment than stamped-steel alternatives.
Our custom-made
proprietary design resolves many of the issues with other brands:
Construction details: